Prepare walls before painting correctly is the secret to achieving a perfectly smooth, long-lasting finish. In this guide, you’ll learn every essential step—from cleaning to priming—to get your walls ready for paint.
Cleaning Walls Before Painting (Surface Prep)
Before you prepare walls before painting, remove all dust, grease, and fingerprints. Mix a mild detergent with warm water, wipe the entire surface with a sponge, then rinse and let it dry completely. A clean surface helps later steps adhere better.
Filling Holes & Cracks (Wall Repair)
Use spackling compound or wall filler to repair any holes or cracks. After it dries, sand the patched areas smooth so they blend seamlessly with the rest of the wall. Proper repairs prevent future peeling and cracking.
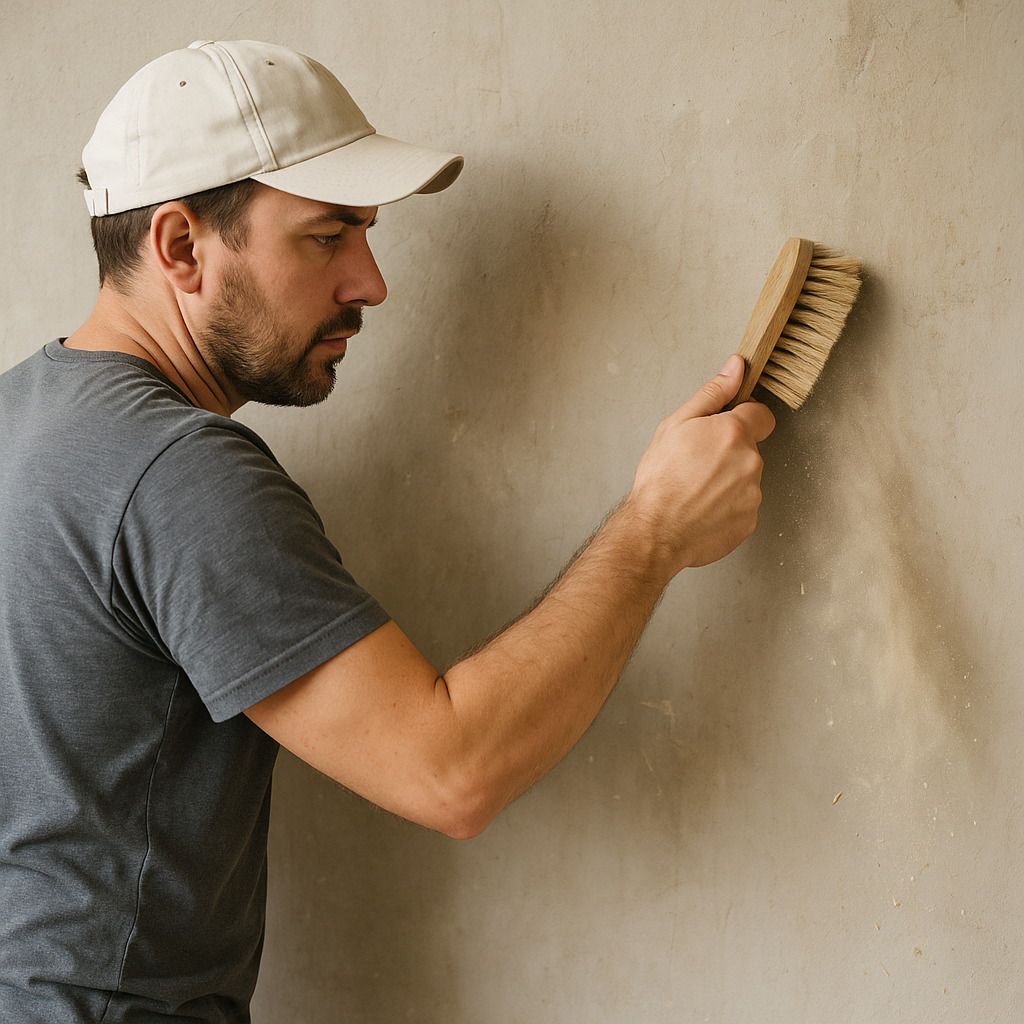
Sanding for Improved Adhesion (Scuff Sanding)
Sanding creates a slightly rough texture that helps paint adhere. Use fine-grit (120–150) sandpaper and work in circular motions. Wipe away dust with a dry cloth. Even a light scuff sanding makes a big difference.
Applying Primer & Sealer (Prime Coat)
Applying a quality primer seals porous spots and ensures uniform paint coverage. Select a primer designed for your wall type and follow the manufacturer’s instructions. A good prime coat boosts paint durability and vibrancy.
Masking & Protecting Adjacent Surfaces (Prep Work)
Protect baseboards, trim, and hardware by applying painter’s tape along edges. Cover floors with drop cloths or plastic sheeting. Masking prevents accidental splatters and gives you clean lines when you paint.
Final Inspection (Quality Check)
Before you pick up a roller, inspect every wall under bright light. Look for overlooked cracks, uneven patches, or drips in primer. Touch up any spots to ensure a truly flawless finish once you start painting.
Ready to calculate your paint needs? Use our free paint calculator to estimate how many gallons you need for your freshly prepped walls.
For professional standards on surface preparation, see the ASPC Surface Preparation Guidelines.
Leave a Reply