How to Prepare Walls Before Painting – Full Step-by-Step Guide
How to Prepare Walls Before Painting: Complete Step-by-Step Guide
Knowing how to prepare walls before painting is the foundation of a professional-quality result. This detailed guide will walk you through each essential step to help ensure a smooth finish that lasts.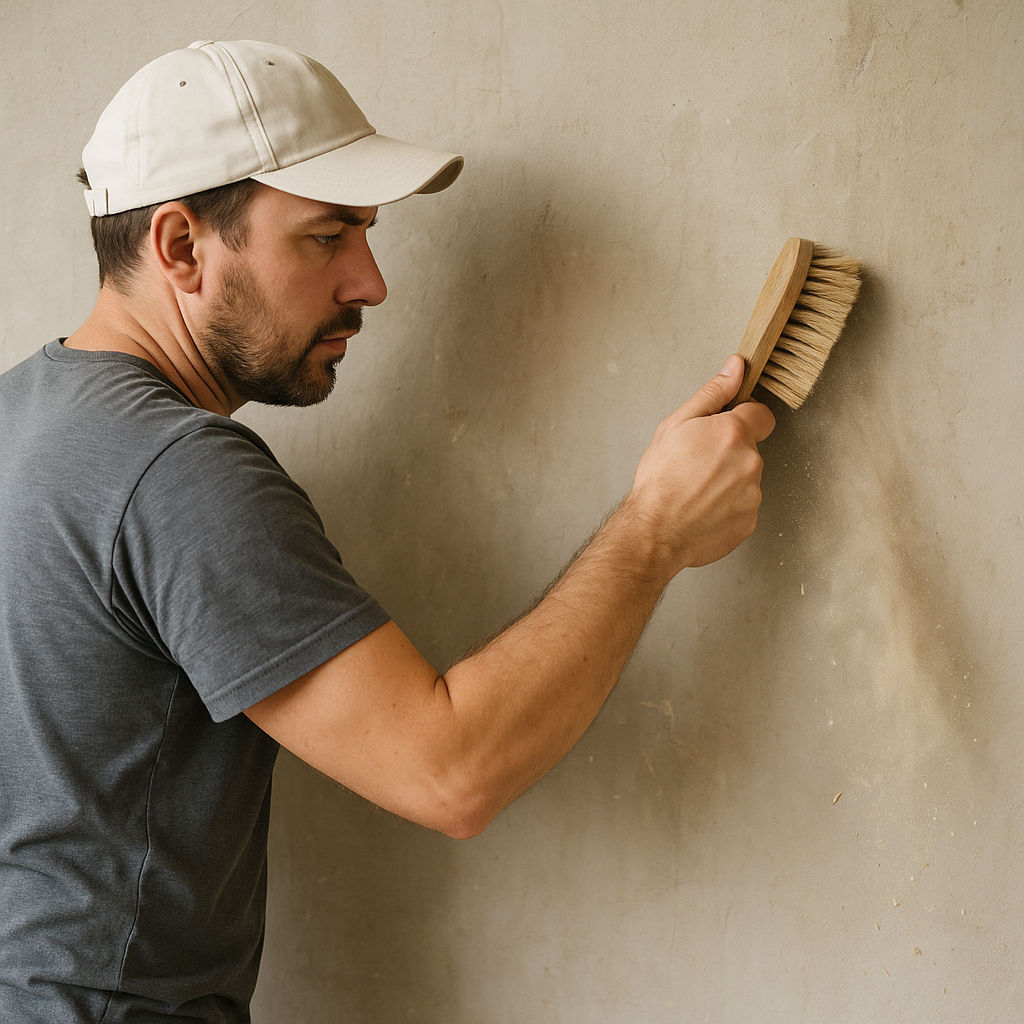
Essential Tools to Prepare Walls Before Painting
Step 1: Cleaning the Walls
Use a sponge and mild detergent to remove grease, dust, and residue. Clean surfaces ensure better paint adhesion and reduce peeling.
Step 2: Repairing Surface Imperfections
Apply spackling paste to any holes or cracks. Once dry, sand the areas until they blend with the rest of the surface. This step is key to wall prep success.
Step 3: Sanding the Wall Surface
Sanding with 120–150 grit paper creates a rough texture for primer or paint to stick better. Avoid skipping this step if you want a uniform finish.
Step 4: Priming Before Painting
Apply primer to even out wall absorption and ensure consistent paint color. Let it dry thoroughly before applying the final coats.
Step 5: Masking and Protecting Surroundings
Apply painter’s tape on trims and cover floors with drop cloths. A well-masked room avoids unnecessary cleanup and enhances precision.
Before & After: The Impact of Good Wall Prep
Walls that are properly cleaned, patched, and primed result in a far more durable and aesthetically pleasing paint job. The difference is visible in the sharp edges, uniform color, and longer-lasting coverage.
Common Mistakes to Avoid
- Not letting the wall dry after cleaning.
- Skipping sanding before priming.
- Using low-quality fillers or wrong primer.
External Resources for Best Practices
For industry-backed standards, visit ACA Coating Standards or explore guides on Sherwin-Williams Professional Resources.
Conclusion
Wall preparation is not just a preliminary task—it’s a decisive factor in achieving perfect results. Use this guide to ensure your next paint project starts with a solid foundation.Calculate Your Paint Needs Now